Posts tagged: weeknight dinner
Sausage in a Blanket
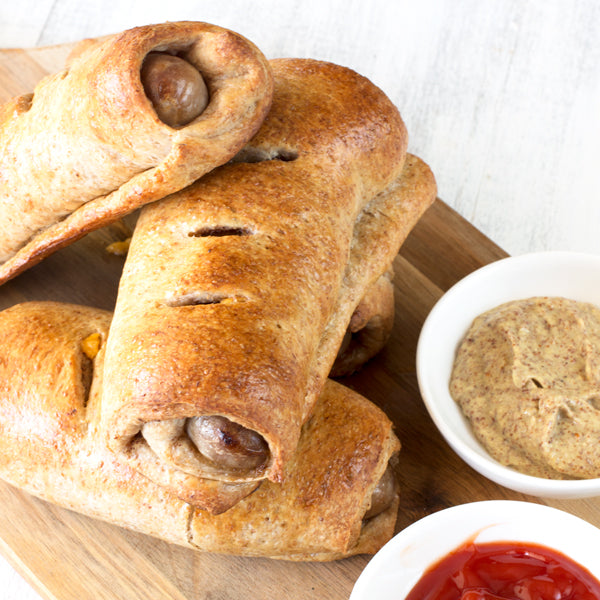

When I ventured to Scotland about a year ago and had my first good sausage in a blanket I was blown away. Such a simple dish packed so much flavor and satisfaction; it seemed too good to be true. I was sure there was some sort of secret Scottish trick to making these wrapped sausages so addictive. Turns out, all you need is some dough, Dijon mustard, cheese and incredible sausage to make the dream come true at home!

I used Pig of the Month’s Wine & Swine Sausages here, but you can use any of their sausage selections to make your own variation of this recipe. This is a great weeknight dinner that will satisfy both the kids and the adults! It also makes for a great handheld lunch on the go, so be sure to pin this for those back to school lunches.


INSTRUCTIONS: Preheat oven to 375 degrees. Line a rimmed baking sheet with aluminum foil and spray with non-stick spray (or use a silicone mat). Add the beaten egg and water to a small bowl and whisk briefly to combine. Set aside. Roll out the pizza dough on a clean surface. Cut the pizza dough into 4 rectangles, about 4x5 inches in size. You may need to roll out the dough a bit from its original size to accommodate the squares. Prick each square all over with a fork. Spread 1 Tbsp of Dijon mustard on each piece of dough. Divide the slices of cheese into 2 triangles each and place them on the dough, spread out a little so the cheese doesn’t get stuck all in one place.

In a medium skillet over high heat, brown the sausages until a nice medium brown sear forms on both sides, approximately 4 to 5 minutes per side. Remove from heat. When sausages are cool enough to handle, roll each one up in a piece of prepared dough. Spread the seal with a thin brush of egg wash. Place seam side down on the baking sheet and brush the top with egg wash. Cut three slits in the top with a sharp knife to create vents. Bake for approximately 20 minutes until the dough and sausages are cooked through. Serve with dipping sauces such as extra Dijon mustard, ketchup and barbecue sauce.

Shop This Post
Pig of the Month Garlic Sausage Links
Recipe & Photos by Meghan Bassett
Best Ever BBQ Chicken Enchiladas
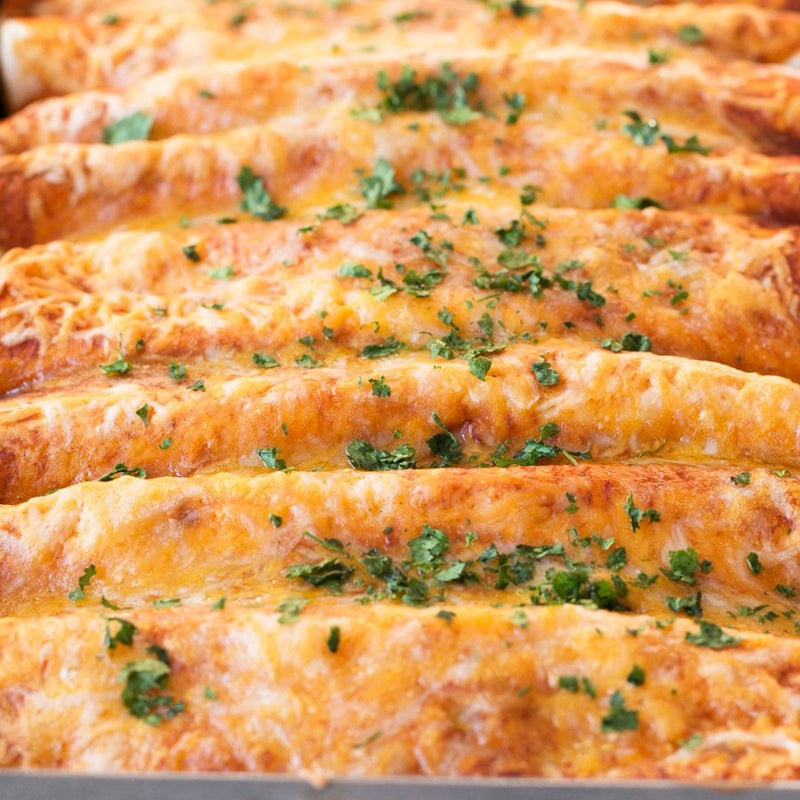

You know when you discover one of the best combinations ever? Because I just did. It's called the happy little crossing place between Mexican and BBQ....

I can't lie; it's freaking magical!
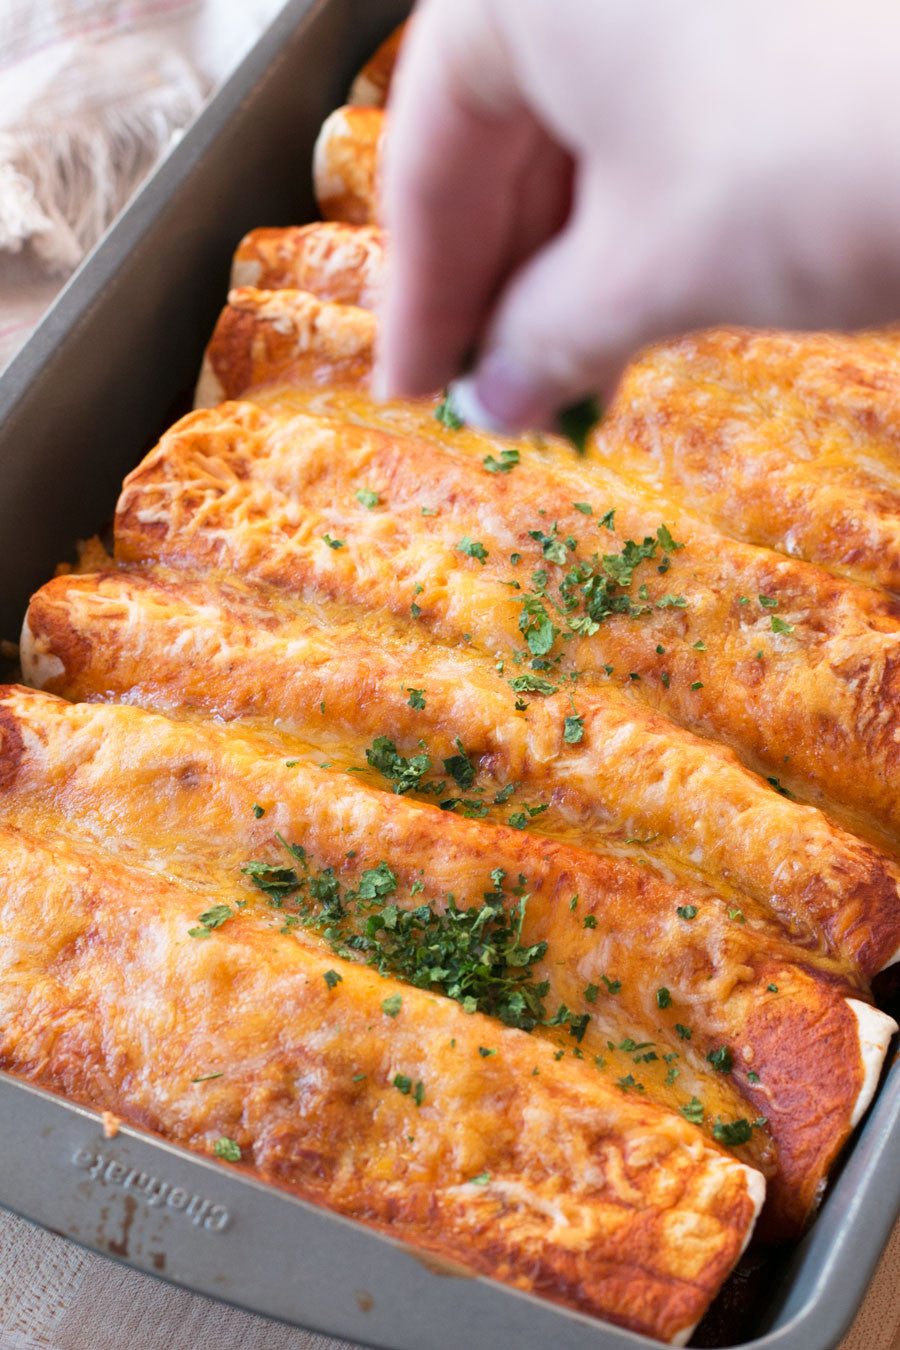
The cheesy, ooey gooey normal enchiladas recipe is made oh-so much better with the addition of BBQ sauce and the best ever Pig of the Month BBQ pulled chicken. It's a little spicy, a little sweet and totally tangy, making every bite the most dreamy thing to hit your taste buds since a slice o' crispy bacon. If your tummy isn't rumbling at the sound of that, there's honestly something wrong with you...

Get down to Chow Town!

Serves 4 to 6 INSTRUCTIONS Preheat oven to 350 degrees. Grease a 9x13-inch baking dish. Add vegetable oil to a medium skillet and heat over medium-high heat. Add onion and cook until tender, approximately 3 minutes. Add chicken and chiles. Season with salt and pepper and cook until warm. Keep warm over low heat. Whisk together enchilada sauce and BBQ sauce in a small bowl. Set aside. Assemble the enchiladas by laying out the tortillas one at a time on a clean work surface. Spoon on 2 Tbsp of the enchilada BBQ sauce, spreading it out to coat the entire tortilla. Add 2 Tbsp of the chicken mixture down the center of the tortilla, then sprinkle with cheese. Roll up tightly and place in baking dish. Repeat with remaining tortillas. Spread remaining sauce over the top of the enchiladas. Top with remaining cheese. Bake for 20 minutes. Garnish with chopped cilantro and serve immediately.
Shop This Post
Pig of the Month BBQ Pulled Chicken
*Recipe & photos by Meghan Bassett
11 Easy AF Healthy Weeknight Meals
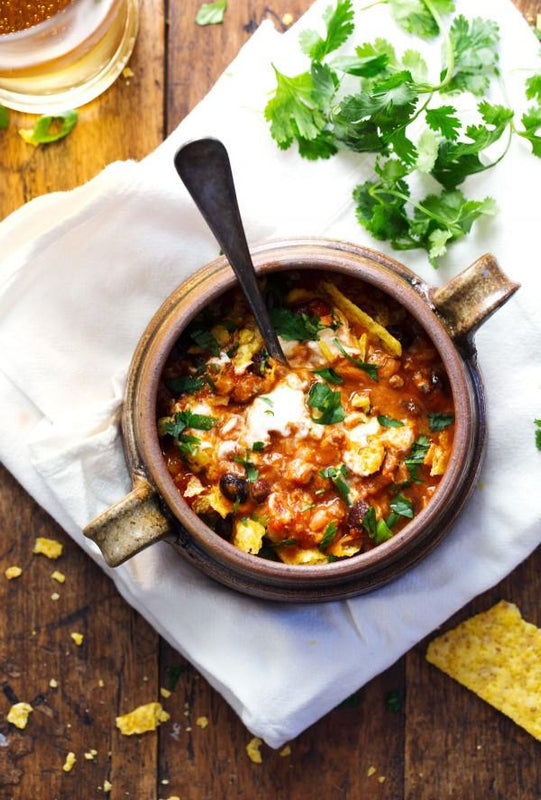

Making dinner in the middle of the week is always kinda a pain, isn't it? I mean, you want something hearty but you don't want to be eating all the cheese, carbs and chocolate every single night. It's all about balance, ya know? That's how we feel about it, so we are rounding up our absolute fav recipes (both our own specialties and some others from around the web) for easy AF healthy weeknight meals that'll always win over the family. Up your dinner game with any of these and we swear, everyone at the dinner table is going to freak the F out over all the deliciousness!

BBQ Chicken Avocado Flatbreads - Sauce + Style

Bacon-Wrapped Caprese Stuffed Chicken - Sauce + Style

Sausage in a Blanket - Sauce + Style

Pulled Pork Tacos - Sauce + Style

Smashed Chickpea Avocado Salad Sandwiches - Ambitious Kitchen

Easy Avocado Boats - Minimalist Baker

30 Minute Spicy Ancho Turkey Chili - Pinch of Yum

Asian Lettuce Wraps - Alexandra Cooks

Quinoa Stuffed Baked Tomatoes - Simply Real Health

Simple Poached Egg and Avocado Toast - Pinch of Yum 10 Minute Oven Baked Tostadas - Yellow Bliss Road Shop This Post: Pig of the Month Pulled Chicken Pig of the Month Applewood Smoked Maple Bacon Pig of the Month Sausages Pig of the Month Pulled Pork
Lightened Up Chicken Mac and Cheese
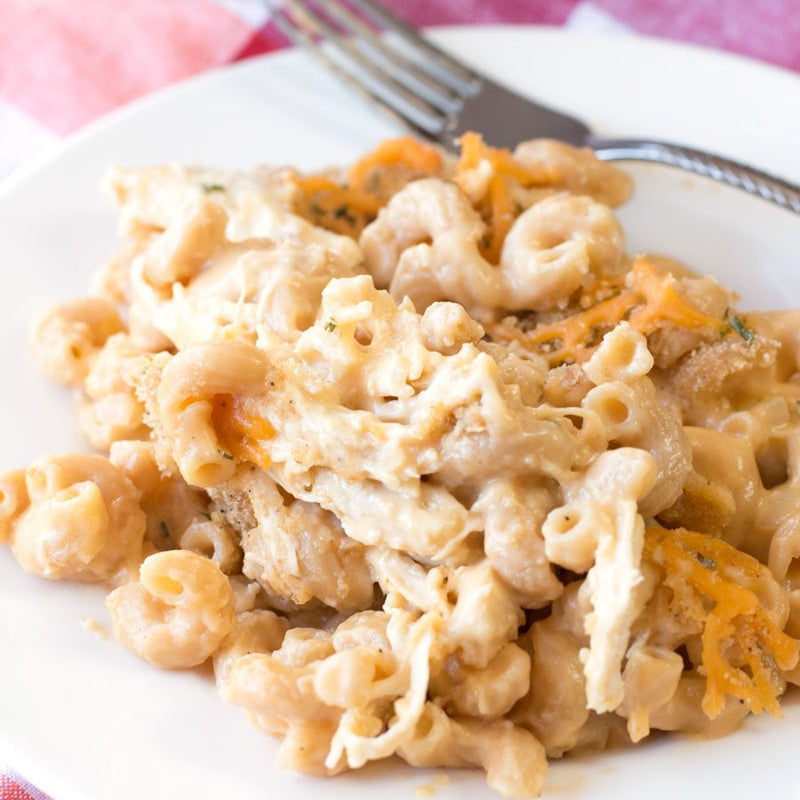

My ultimate comfort meal? A heaping bowl full of macaroni and cheese. No, not the stuff from the box people. I mean the real, down-home heart stuff that fills you up and warms you from the inside out.

Of course, eating bowl after bowl of that cheesy deliciousness is a little bad for the waistline... On the other hand, I don't believe in compromising flavor in favor of just eating the healthy stuff. That's why this Lightened Up Chicken Mac N Cheese is the one dinner you have to add to your winter weeknight rotation! It's creamy and dreamy and oh-so cheesy, but the lightened up cheese sauce and whole wheat noodles keep you from adding too much to your hips.

Without sacrificing any flavor! The Pig of the Month BBQ Pulled Chicken sure takes care of THAT. BOOM baby. Let's get cooking!
[vimeo 200244639 w=640 h=360]
Lightened Up Chicken Mac and Cheese from Pig of the Month BBQ on Vimeo.

INSTRUCTIONS: Preheat oven to 375 degrees. Spray a baking dish with cooking spray. In a large saucepan, melt butter over medium-high heat. Add onion and cook until tender, approximately 3 minutes. Add flour, stirring to combine, and cook until golden, approximately 30 seconds to 1 minute. Whisk in milk and broth. Bring the mixture to a boil and cook for 5 minutes, until thickened. Remove from heat and stir in cheese until melted. Season with salt and pepper to taste. Stir in macaroni and chicken into the saucepan. Pour into the prepared baking dish. Top with an extra sprinkled of cheese and the bread crumbs. Bake for 15 to 20 minutes, until bubbly and the top is golden.

Shop This Post Pig of the Month BBQ Pulled Chicken *Recipe, video and photos by Meghan Bassett
Bacon-Wrapped Caprese Stuffed Chicken
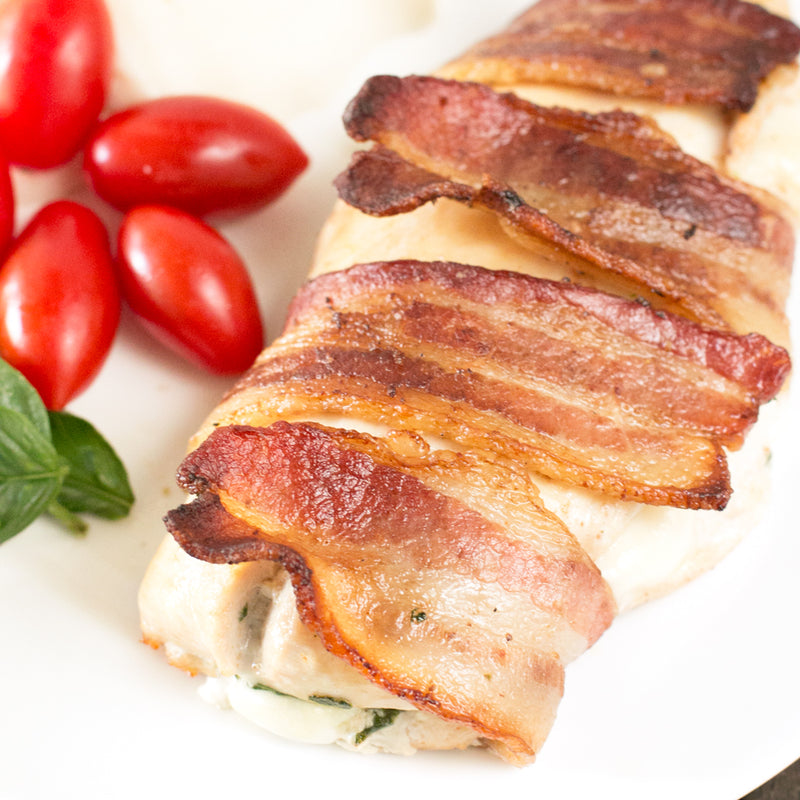

Weeknight meals can get really boring, am I right? I mean, there's only so many times you can cook a plain ol' chicken breast, match it up with some veggies and not get bored to tears. Sometimes you need to shake things up during the week, but you don't have time to master an insane recipe. Enter Bacon-Wrapped Caprese Stuffed Chicken.

These chicken breasts are going to seriously wow your family and I bet you already have most of these ingredients in your home (or even growing in your backyard for you herb and veggie growers out there!). All you have to do is stuff your chicken breasts with those classic caprese salad ingredients, wrap them in bacon and boom. Dinner is done in less than 30 minutes and your satisfying everyone at the table. I LOVE caprese salads - the mozzarella, the tomato, the basil - it all screams freshness and summer to me with every bite. Chicken lends itself so well to this combo so it only makes sense to stuff everything INSIDE the chicken breast. That combined with the bacon-wrapped exterior leaves you with one of the moistest pieces of chicken you'll ever dig into.

This will become a family fav in no time!
Bacon Wrapped Caprese Stuffed Chicken from Pig of the Month BBQ on Vimeo.


INSTRUCTIONS: Preheat oven to 400 degrees. Split each chicken breast in half. Stuff with 2 half slices of mozzarella, one half slice of tomato, and a generous sprinkle of chopped basil. Pinch the edges of the chicken breast closed.

Wrap each chicken breast with two slices of bacon, making sure the edges of the bacon overlap all on the same side of the breast. Heat olive oil in a large oven safe skillet over medium-high heat. Sear the chicken breasts for 2 to 3 minutes on each side, making sure to rotate to get it seared on all four sides. Place skillet in the oven and bake for 10 minutes, or until cooked through. Serve immediately.
Shop This Post
Pig of the Month Applewood Smoked Maple Bacon
*Recipe, photos and video by Meghan Bassett
17 Ways to Use Up All That Shredded Chicken and Pulled Pork


You know when you end up with too much shredded meat? You might have made one too many chicken breasts or that pork shoulder you bought is just a couple pounds too heavy. You might have a few containers of our very own tasty shredded chicken or pulled pork sitting in your freezer that you’re wondering how you can use. I mean, making a tasty shredded meat sandwich is delicious don’t get me wrong. After a while though, you start dreaming of new possibilities for that shredded chicken or pulled pork. There are SO many ways to use it up, from tacos to pasta, pizza to incredible casseroles! We’ve rounded up our top Sauce + Style recipes, along with some of our other blog favs so you’ll never run out of ways to use up those meats again. Who loves ya baby? You know we do.

Shredded Chicken Chili - Ketogasm Chicken Tamale Casserole - Jo Cooks

Chicken Stuffed French Bread - Life in the Lofthouse Chicken Fajita Pasta - Kevin & Amanda

Skinny Buffalo Chicken Stuffed Sweet Potatoes - Not Enough Cinnamon BBQ Chicken Rollups - Life in the Lofthouse

Campfire Nachos - Sauce + Style “Cracked Out” Chicken Tater Tot Casserole - Plain Chicken

Pulled Pork Flatbread with Mango Chutney - Sauce + Style Pulled Pork Tacos - Sauce + Style

Loaded BBQ Pork Potato Casserole - Mom on Timeout Hawaiian BBQ Pulled Pork Calzones - Sauce + Style

BBQ Spaghetti Casserole - Spicy Southern Kitchen Chipotle Pulled Pork Lettuce Wraps with Avocado Aioli - Fashionable Foods

Pulled Pork Burrito Bowls - My Natural Family Chipotle Lime Carnitas Salad - Cafe Delites
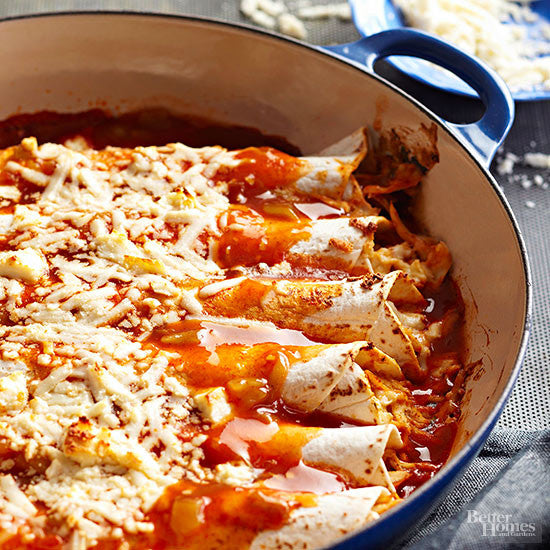
Pulled Pork Enchiladas - Better Homes & Gardens Are you ready to get down on some meats on meats on meats? If you ran out of your fav shredded meat, just head over to our site to order more. Our shredded chicken and pulled pork is SO bomb.
Grilled Chili Rubbed Flank Steak
Grilled Chili Rubbed Flank Steak is a super simple way to take your grilled steak to the next level of flavor. The wet rub infuses so much tastiness into the flank steak - you can't go wrong with this one!

Are you ready for Memorial Day?? I am tweaking my menu daily for the annual massive BBQ I host, and I was feeling a little stumped earlier this week. That is, until now. This grilled chili rubbed flank steak changed ev-er-y-thang for me once I made it. It's one of the simplest recipes I've ever created, but in terms of flavor, it's ridiculously complex. All of the flavors in the rub perfectly compliment the meat and that really good charred taste you get from the grill.

You can easily serve this bad boy as is or there are about a million other ideas you could try out. Throw it on a salad. Chop it up and add it to a grilled pizza. Serve it with tons of grilled veggies. You can even make some killer tacos or a Tex Mex inspired sandwich with this meat. The options are limitless and it'll take you less than 15 minutes of active cooking time to make it happen.

So obviously, you should be adding this recipe to your Memorial Day menu right NOW.


INSTRUCTIONS: In a small bowl, combine garlic, lime juice, chili powder, salt, cumin, paprika and cayenne.

Stir until all ingredients are incorporated.

Rub the paste all over the steak. Let rest in the refrigerator for 15 to 20 minutes.

Grill the steak on a hot grill or grill pan over medium-high heat until it reaches your desired doneness (approximately 6 to 8 minutes for medium). Remove from grill and rest for at least 10 minutes before slicing and serving.

Serve alone over rice, with salad or even in tacos! Give it an extra squeeze of lime for a touch of extra brightness too. Recipe & photos by Meghan Bassett


