Posts tagged: macaroni and cheese
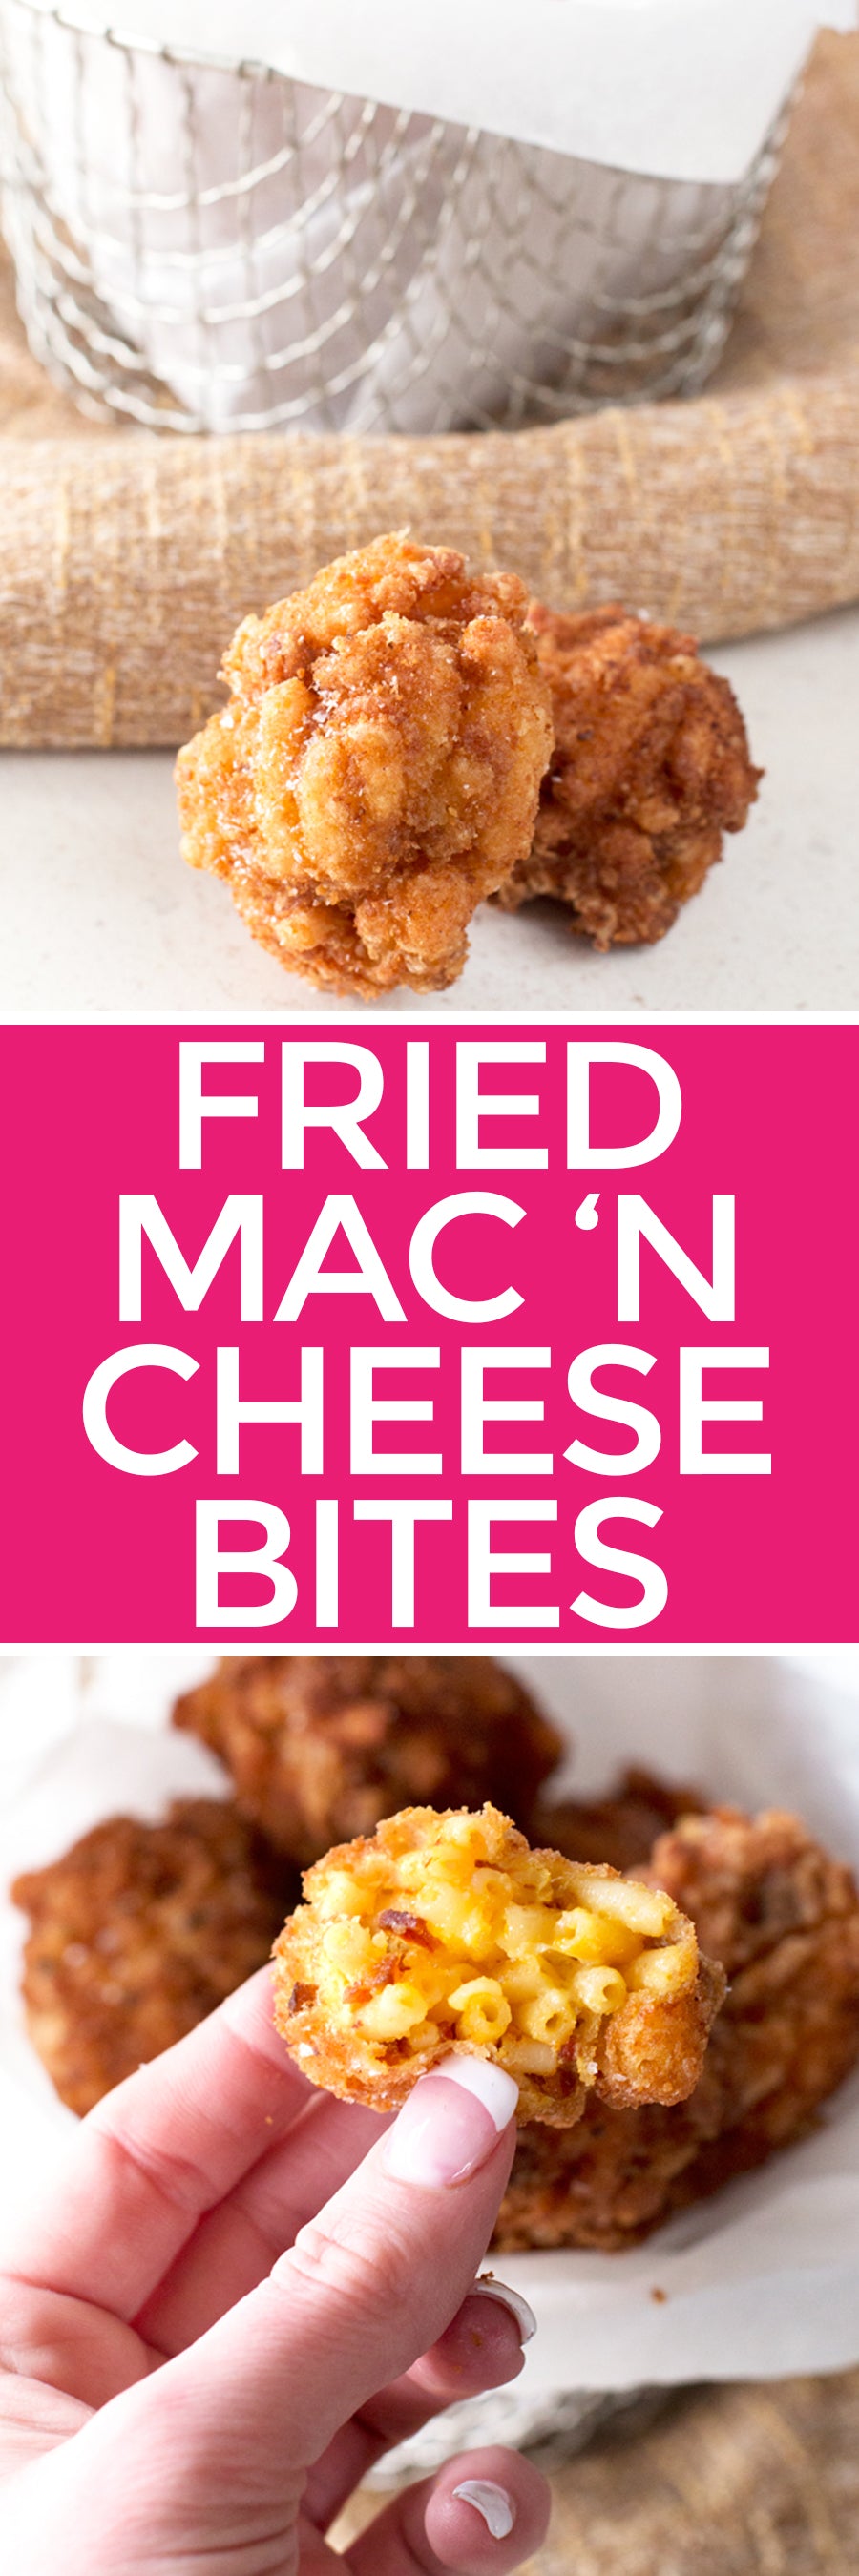
Fried Bacon Mac n Cheese Bites

With the playoffs all wrapped up, that only means one thing. Time to get ready for the SUPER BOWL! 
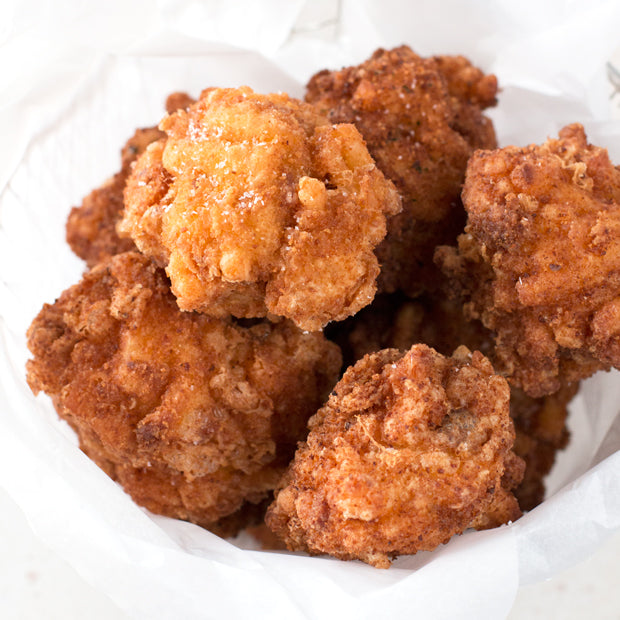
Since this year is the big number 50 for the Super Bowl, I'm going ALL out with the Super Bowl spread. Instead of the typical chips and dip, I'm opting to bring in the big guns with these golden, delicious fried bacon mac n cheese bites. They are crispy on the outside and warm, cheesy and bacon-packed on the inside.

The best part of this recipe is that you can simply use a few cups of leftover mac and cheese to make it! No need to let that mac and cheese sit lonely in the fridge anymore, you now have the best ever round two recipe for it that comes together in minutes.

No one will be able to step themselves at one, so be sure to triple this recipe if you've got a lot of hungry people headed your way on game day.


INSTRUCTIONS: In a medium bowl, mix together the mac and cheese and diced bacon. Form small balls (either one or two bite depending on your preference) out of the mac and cheese mixture and add them to a flat baking sheet. Once you have formed the balls (make sure you press them together tightly), cover with plastic wrap and freeze for at least 2 to 3 hours.

In a small bowl, beat the eggs. In another small bowl, combine the breadcrumbs and flour; season the coating with salt, pepper and cayenne. In a heavy bottomed saucepan, heat 3 to 4 inches of canola oil over medium-high heat. Working in small batches of 3 to 4, dredge the mac and cheese balls in the egg, then in the breadcrumb mixture. Add the the hot oil and fry until golden brown and hot in the center, approximately 4 to 5 minutes. Remove from the oil and drain on a paper towel-lined plate. Sprinkle with salt and repeat until all the mac and cheese balls are fried. Serve immediately.
Shop This Post
Pig of the Month Applewood Smoked Maple Bacon
Recipe & Photos by Meghan Bassett
Lightened Up Chicken Mac and Cheese
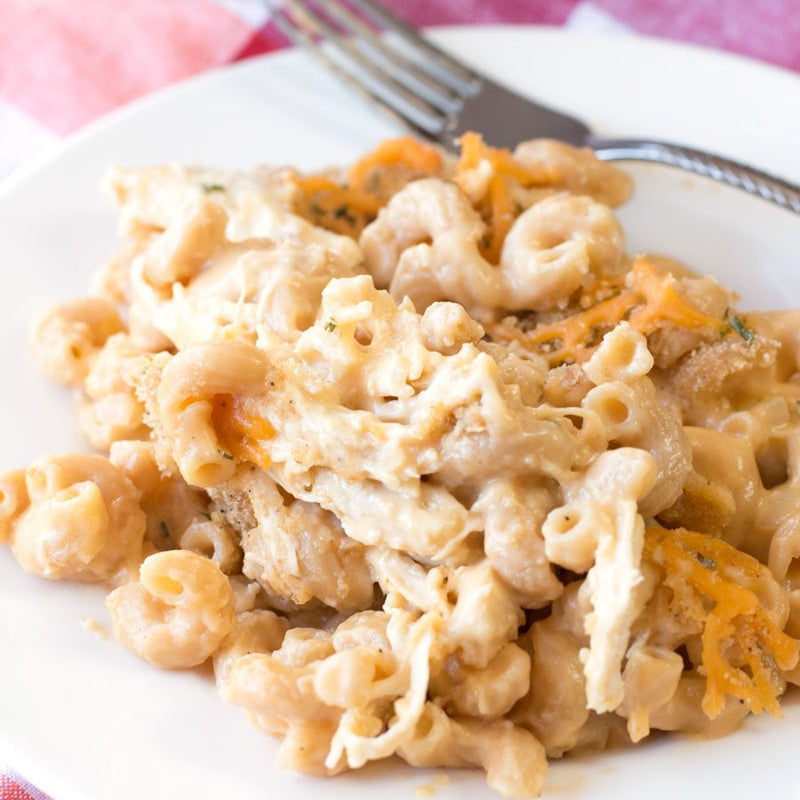

My ultimate comfort meal? A heaping bowl full of macaroni and cheese. No, not the stuff from the box people. I mean the real, down-home heart stuff that fills you up and warms you from the inside out.

Of course, eating bowl after bowl of that cheesy deliciousness is a little bad for the waistline... On the other hand, I don't believe in compromising flavor in favor of just eating the healthy stuff. That's why this Lightened Up Chicken Mac N Cheese is the one dinner you have to add to your winter weeknight rotation! It's creamy and dreamy and oh-so cheesy, but the lightened up cheese sauce and whole wheat noodles keep you from adding too much to your hips.

Without sacrificing any flavor! The Pig of the Month BBQ Pulled Chicken sure takes care of THAT. BOOM baby. Let's get cooking!
[vimeo 200244639 w=640 h=360]
Lightened Up Chicken Mac and Cheese from Pig of the Month BBQ on Vimeo.

INSTRUCTIONS: Preheat oven to 375 degrees. Spray a baking dish with cooking spray. In a large saucepan, melt butter over medium-high heat. Add onion and cook until tender, approximately 3 minutes. Add flour, stirring to combine, and cook until golden, approximately 30 seconds to 1 minute. Whisk in milk and broth. Bring the mixture to a boil and cook for 5 minutes, until thickened. Remove from heat and stir in cheese until melted. Season with salt and pepper to taste. Stir in macaroni and chicken into the saucepan. Pour into the prepared baking dish. Top with an extra sprinkled of cheese and the bread crumbs. Bake for 15 to 20 minutes, until bubbly and the top is golden.

Shop This Post Pig of the Month BBQ Pulled Chicken *Recipe, video and photos by Meghan Bassett
Pulled Pork Mac n Cheese Grilled Cheese Sandwiches (in a waffle iron!)
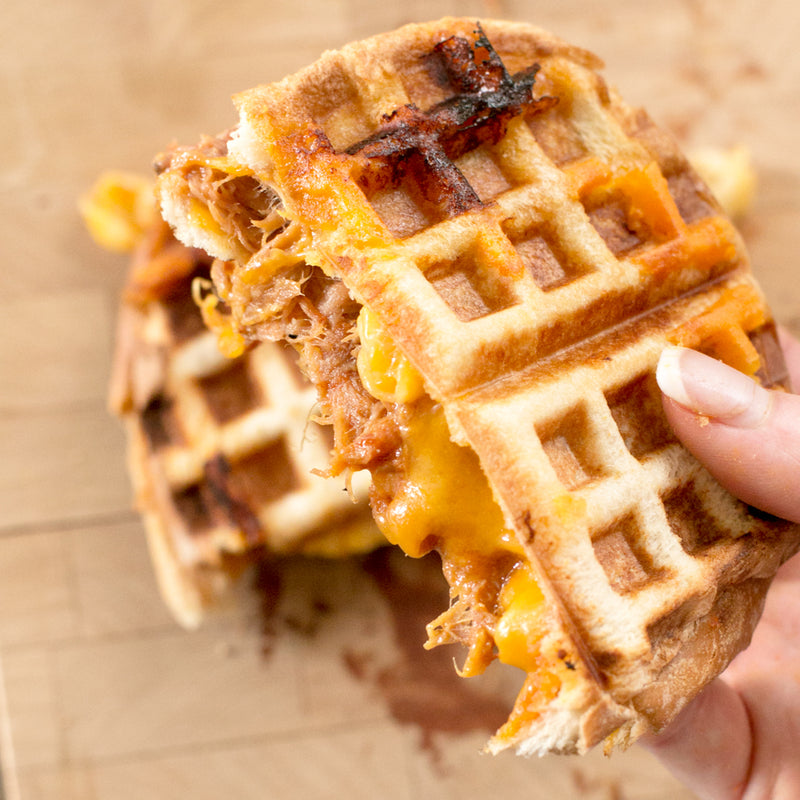

Hey food porn fans... I've got something extra special for you today... It's hot and crispy straight out of the waffle iron, stuffed with saucy pulled pork and so cheesy your head might explode. It's basically a giant mess of a sandwich, carefully contained in a pocket of waffle ironed bread.

This is seriously going to become your new favorite way to make grilled cheese sandwiches, period. The waffle iron crisps up the bread in a way that cooking it over the stove just doesn't do. It's like your own personal panini press, with more than one function in the kitchen! You just pinch down those edges and it forms a pocket of deliciousness.

When you open up this bad boy, all that pork, mac n cheese and cheddar comes oozing out in the most luscious way. You might have to stop and just stare at it before shoveling it in your mouth in one giant bite. Might have to stop. But we know you definitely won't delay the goodness, right?

Get those cameras ready folks, this is food worthy of that 'foodporn' hashtag on Instagram.


INSTRUCTIONS Grease waffle iron with cooking spray and turn on.

To assemble the sandwich, begin with adding one slice of cheese to a slice of bread.

Top with half of the pulled pork, then half of the mac and cheese.

Finish with the other slice of bread. Repeat with the second sandwich. When the waffle iron is hot, cook one sandwich at a time. Place the sandwich in the center and press down firmly. You may have to hold the waffle iron down as it will not close completely.

When the cheese is melted, approximately 1 to 2 minutes, remove sandwich from the waffle iron. Repeat with the other sandwich. Serve immediately.
Shop This Post
Pig of the Month BBQ Pulled Pork
*Recipe & photos by Meghan Bassett
Brisket Mac N Cheese Sliders
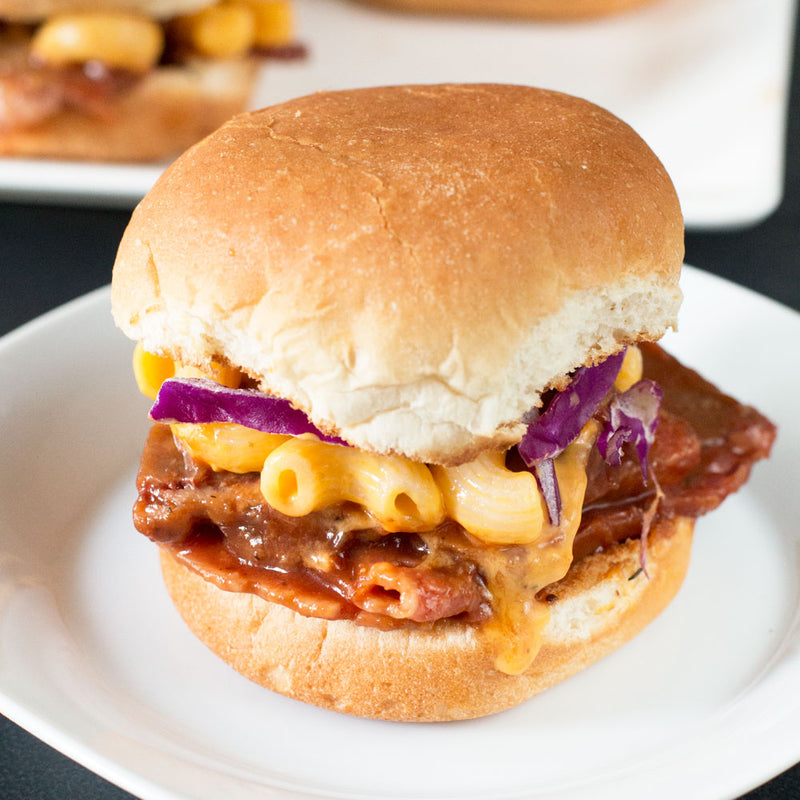
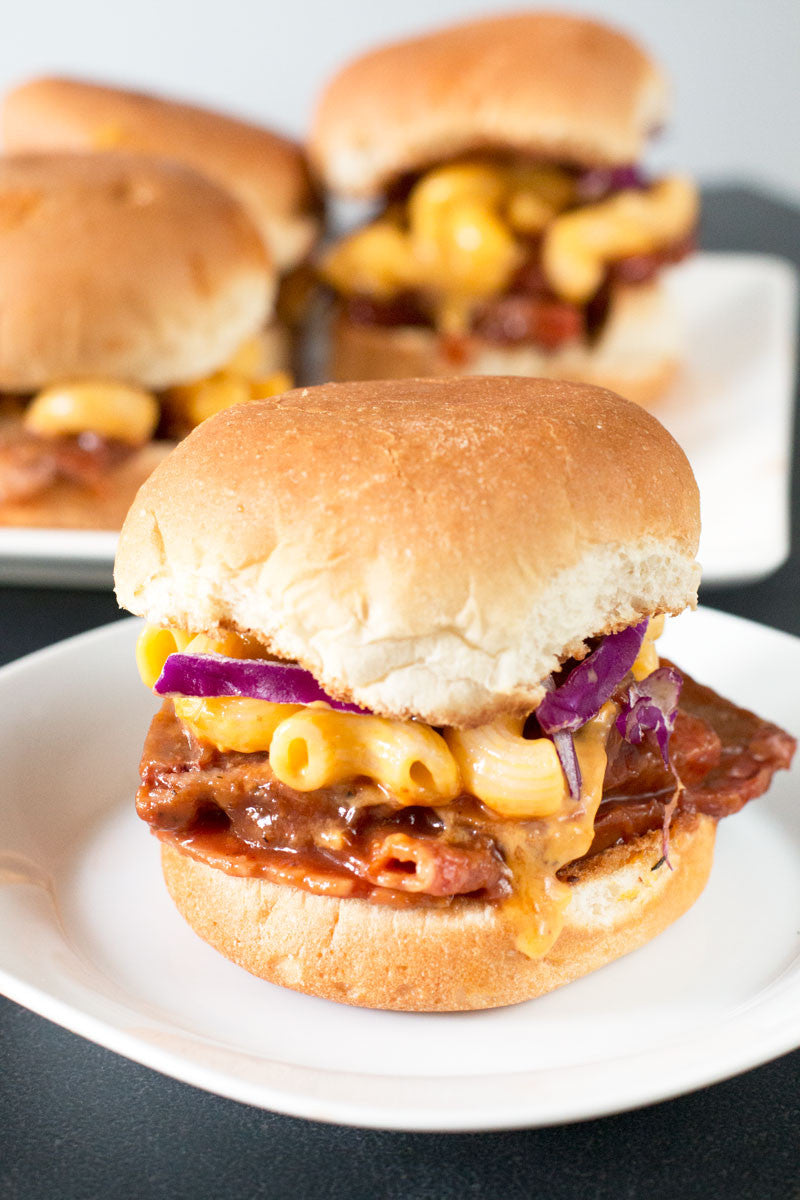
You know when you have leftovers hanging around and you have ZERO idea what to do with them? My refrigerator is usually a mash up of random BBQ leftovers, some pasta and whatever else I happen to have leftover from last night's BBQ party. There's a limit to how many times you can eat the same dish the same way. I mean, I love my brisket, but after a couple of nights of just brisket and a side salad, I'm getting bored.

I also happen to be lazy and have no desire to actually get too terribly creative unless I know it'll take me zero extra effort. Enter these little brisket mac n cheese sliders... Brisket Mac N Cheese Sliders are the new appetizer that you have absolutely no excuse not to make. Seriously, how easy are these little guys? You just throw some leftovers on a toasted bun and BAM, you have a completely new way to eat that brisket and mac n cheese that have been taking up valuable real estate in your refrigerator.

Plus, how fancy you get with this recipe is completely up to you. You can make your own smoked brisket or you can head over to Pig of the Month's shop to snag some of their oh-so tender brisket. For the mac n cheese, you can simply make these sliders with store-bought mac and cheese, or you can bust out grandma's favorite recipe to go the extra mile. Regardless, these sliders are just the right balance of meat and cheese to hit the spot with every bite. There's no going back once you've eaten these sliders, so get prepared to start craving mac n cheese on your sandwiches from here on out. Don't say I didn't warn you...

INSTRUCTIONS - Watch the video below!
Pig of the Month BBQ on Vimeo.
Shop This Post
Recipe, video & photos by Meghan Bassett

