Posts tagged: do it yourself
DIY Brisket Slider Bar
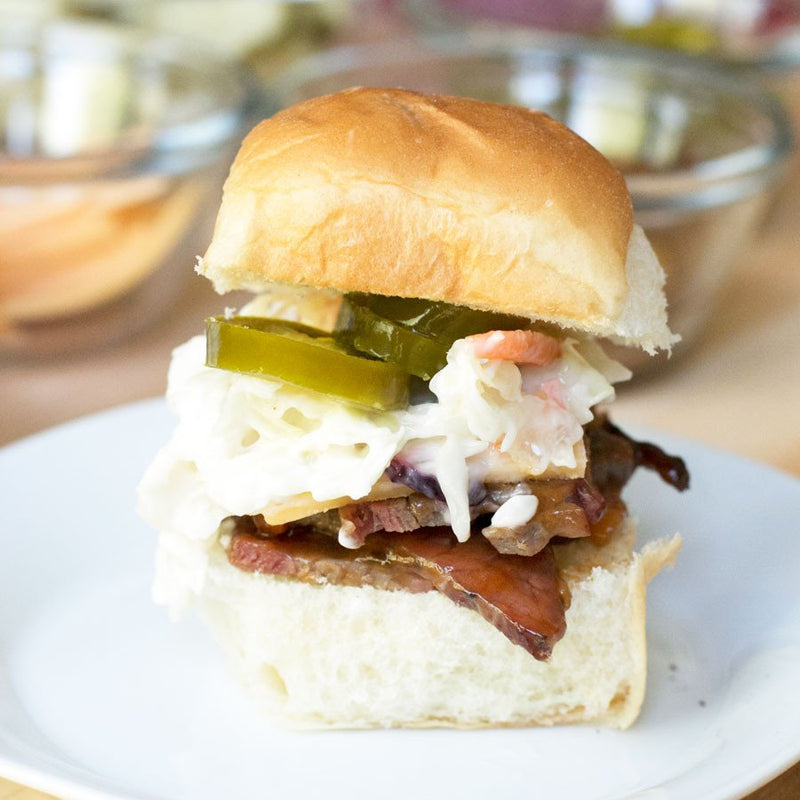

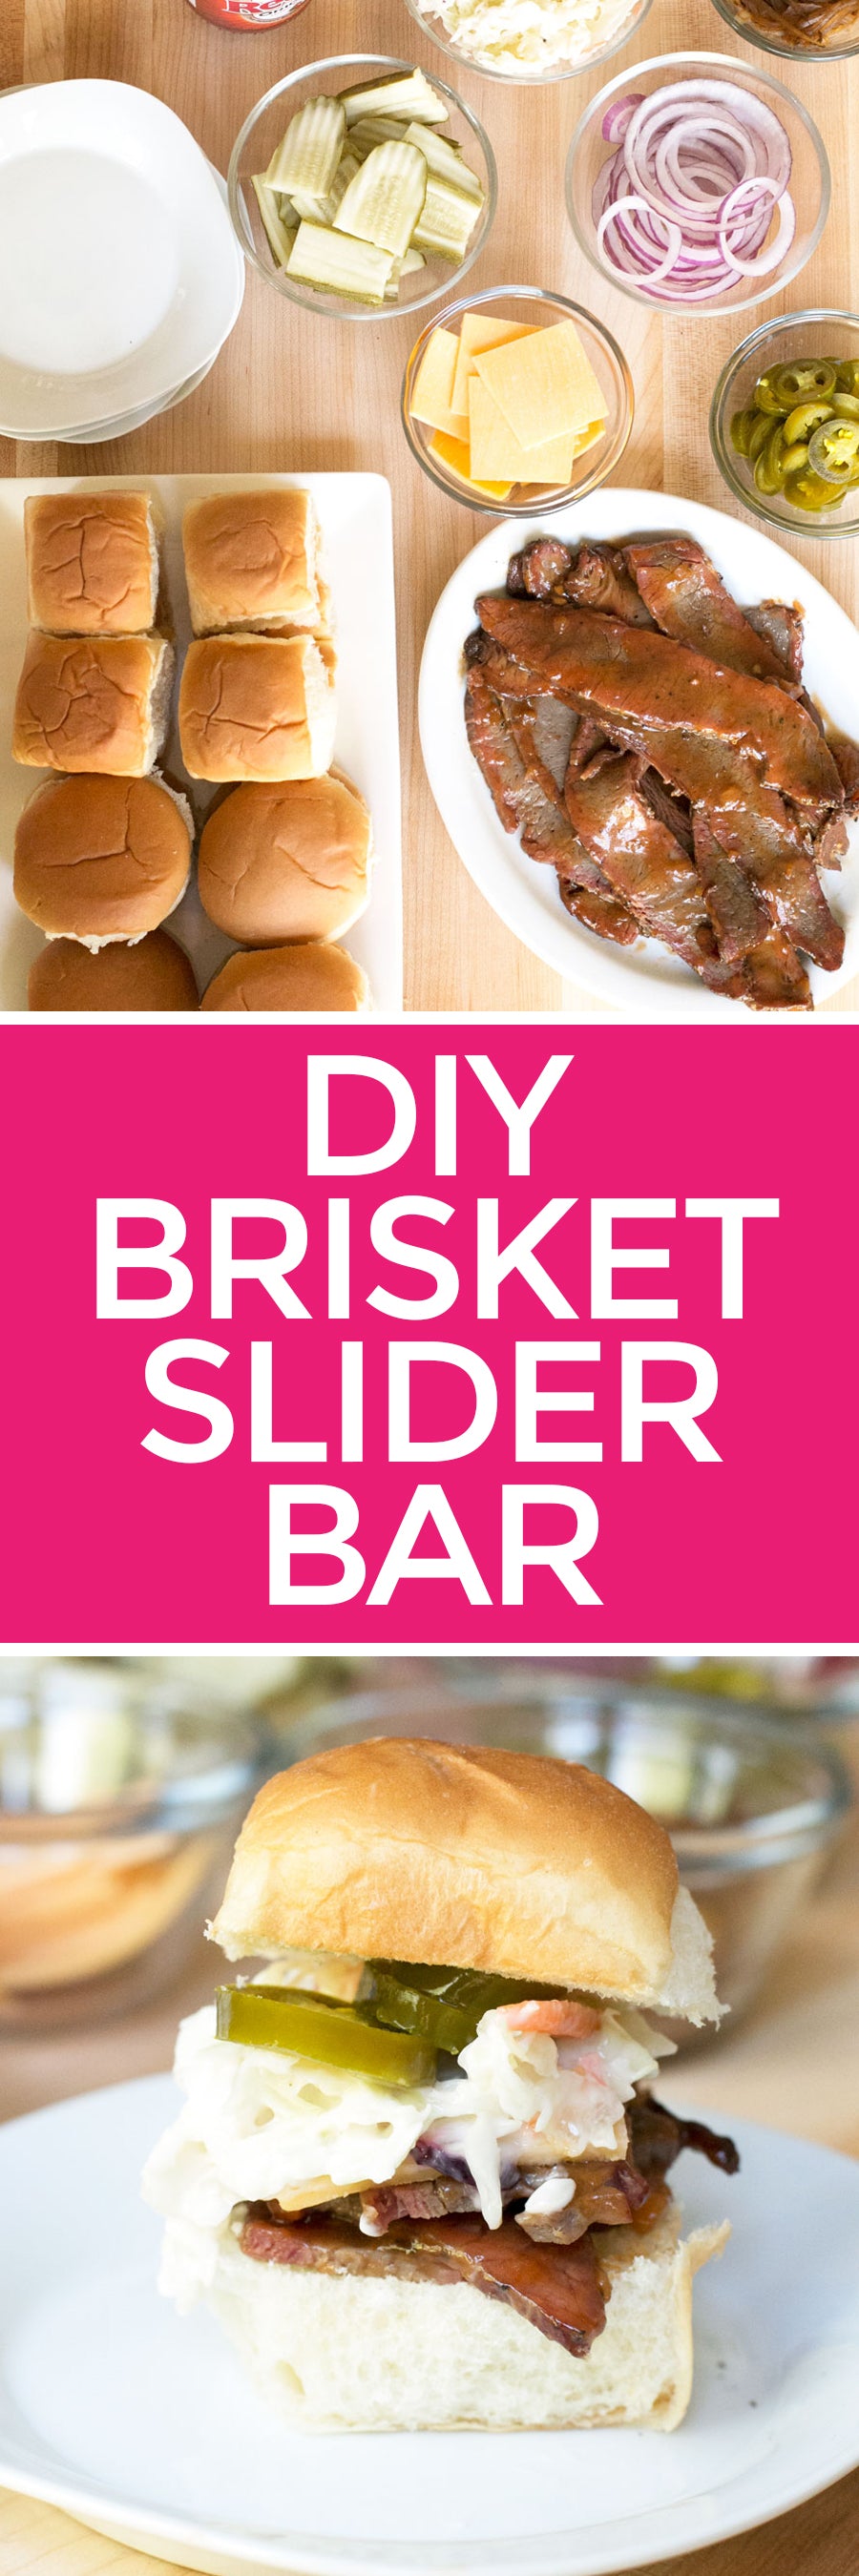
Stop trying to make the perfect sliders for everyone and have them make their own instead! Put the fun back into your food at your next gather with this super simple DIY Brisker Slider Bar. Instead of slaving away, trying to find the ideal slider that everyone will fall in love with, load up on some of our brisket and set out as many toppings as you can. All you guests will love jumping in to create their own version of the "best brisket slider", plus you can keep the options open no matter what foods some people love (or love to hate).

You can stick with a classic combo of a white bun, brisket, pickles, red onion and cheese.

Or shake things up with a Hawaiian bread bun, coleslaw and pickled jalapeños!
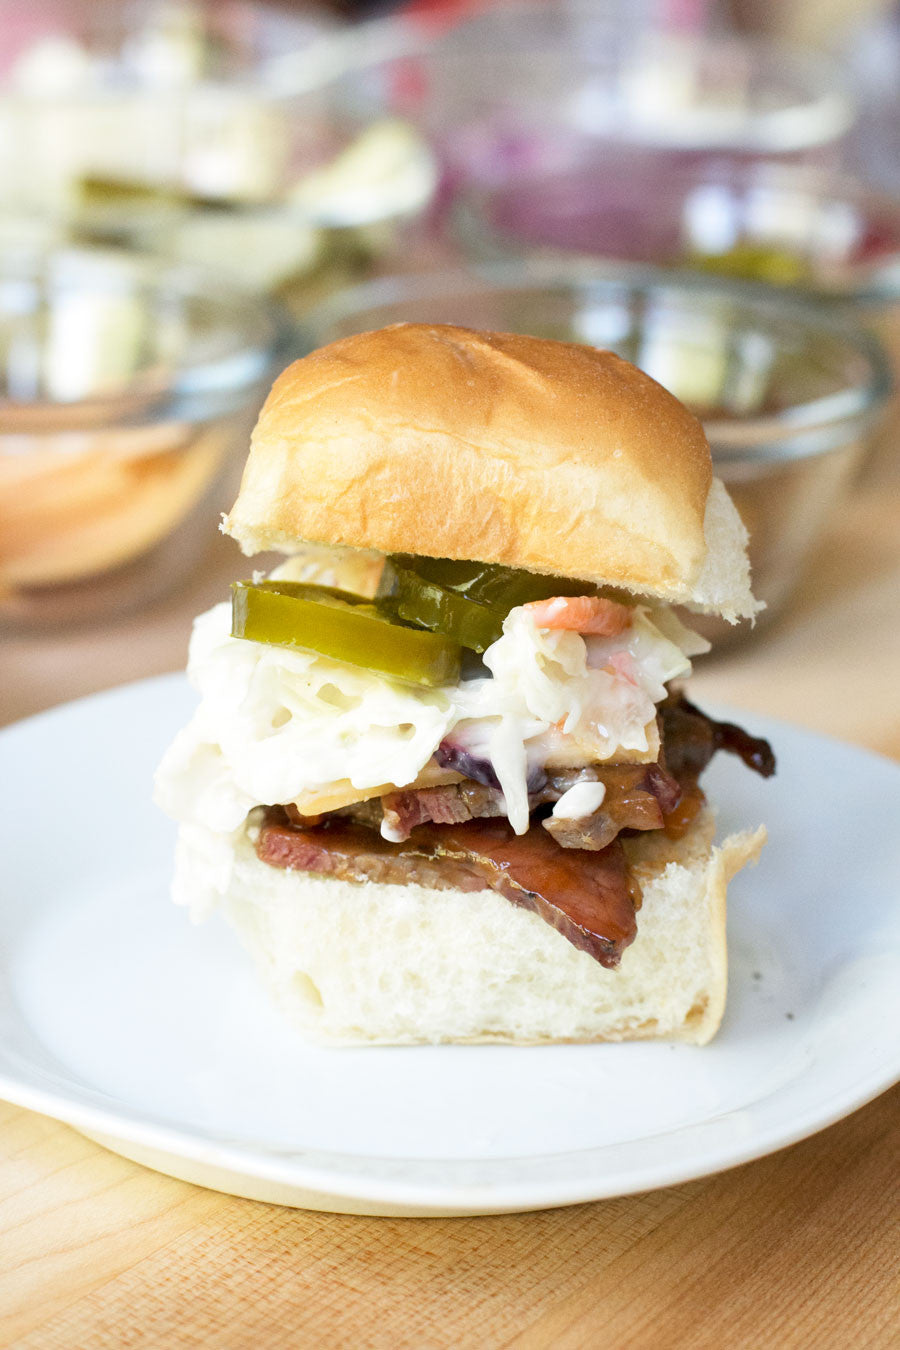
Not to mention all the stress this whole DIY slider bar takes off you as the host/hostess... But that's just an extra side bonus to everything loving the food and having fun, right? ;)
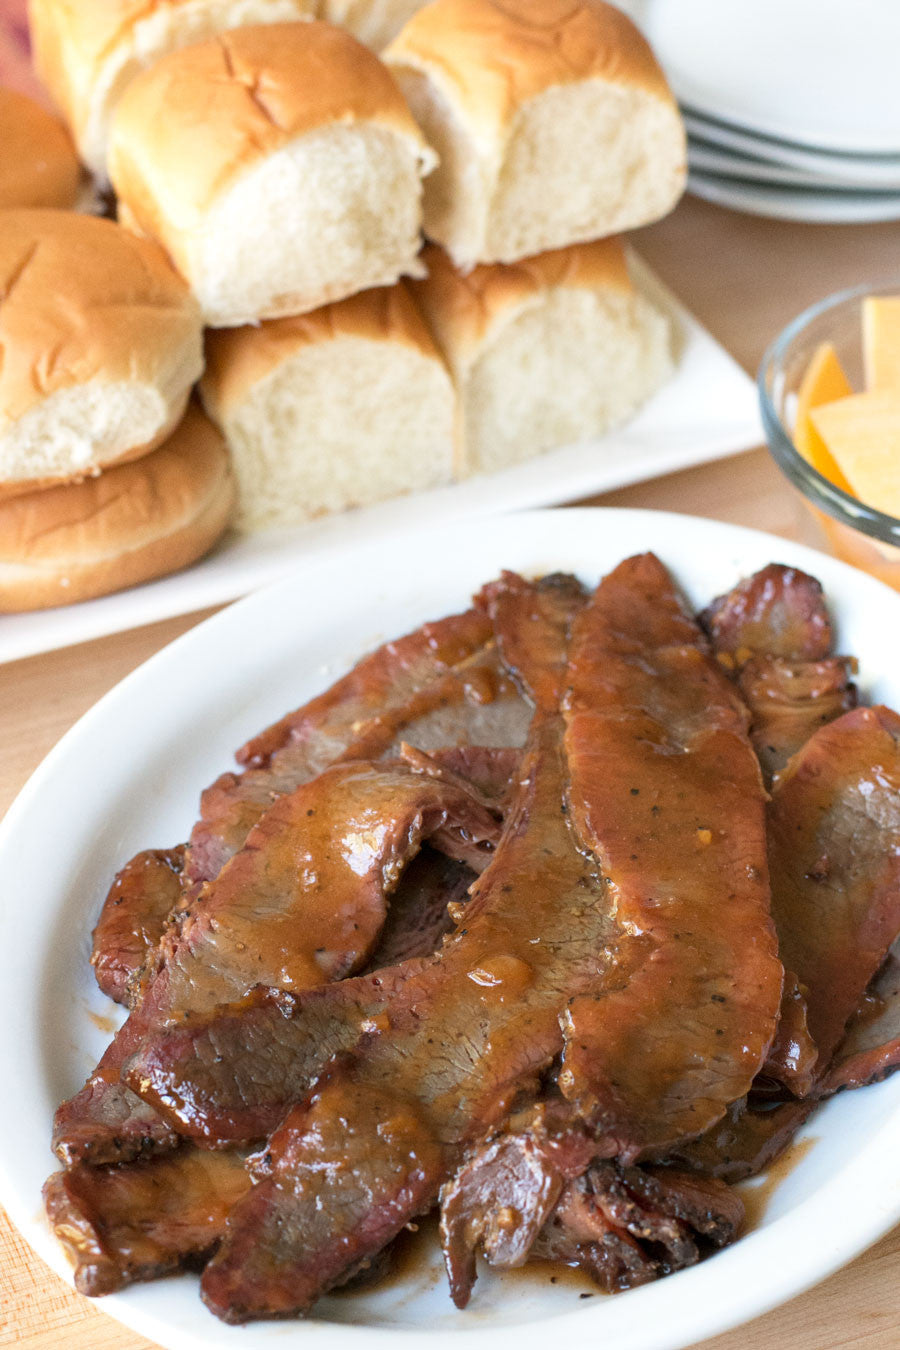
What You'll Need: Serves 12 to 14 2 types of slider buns (24 total) 1 lb Pig of the Month Brisket, warmed 1 red onion, thinly sliced 2 cups coleslaw 1 cup caramelized onions Sliced sharp cheddar cheese, cut into small squares Sandwich pickles Pickled jalapeños BBQ sauce Franks Red Hot Sauce

Place the buns on a large platter. Place warmed brisket on a separate large platter. Layer cheddar cheese slices on a small plate.

Add red onion, coleslaw, caramelized onions, sandwich pickles and pickled jalapeños to individual serving bowls. Place the buns to one side next to the brisket and then lay out all of the toppings in a line to make it easy for guests to pick and choose. Set out your favorite BBQ sauces and hot sauces for people to experiment with! Have fun with it!
Shop This Post
*Recipe & Photos by Meghan Bassett
12 Easy AF DIY Foodie Gifts Everyone Will Drool Over
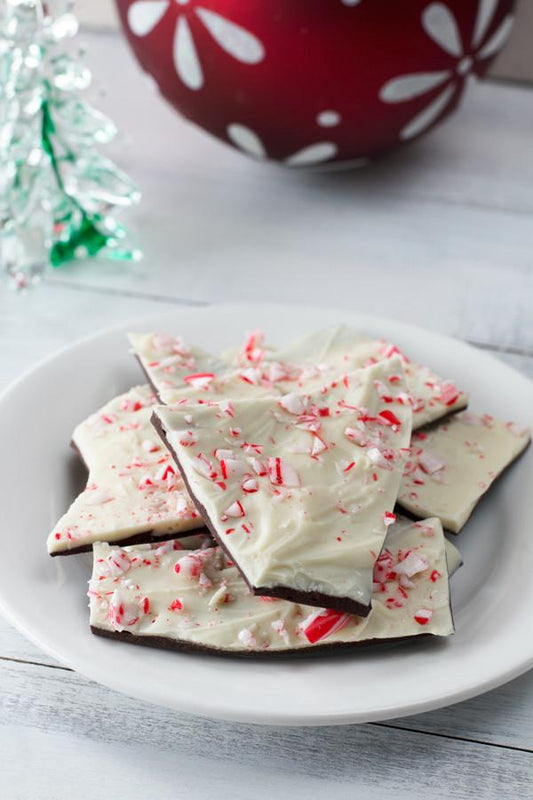

'Tis the season to shower your friends and family with gifts, so what's better than the gift of food. Not much. I'm sure it's no big surprise that we here at Pig of the Month BBQ are alllllll about the foodie gifts. From bacon to ribs to brisket, we love to give the gift of tasty BBQ meat whenever we can. To go alongside all that finger-licking goodness, we like to dole out a few special gifts that range from chocolate to oils to even more bacon. Check out our holiday foodie gift roundup below and give the gifts everyone REALLY wants to get underneath the tree this year!

Chocolate Dipped Candied Citrus Slices - Sauce + Style

Maple Bacon Marshmallow Bark - Sauce + Style

Infused Olive Oils - Sauce + Style

Easy Peppermint Bark - Sauce + Style

Homemade Bacon Bits - Sauce + Style Trio of Chocolate Truffles - Sauce + Style

Homemade S’mores Kit - Twig and Thistle

Homemade Bacon Salt - Not Quite Nigella

Set of Flavored Sugars - Country Living

Homemade Dark Chocolate Nutella Chips - Desserts with Benefits

Homemade Tonic Syrup - Pinch and Swirl

Roasted Pumpkin Seeds - Inspiration Kitchen
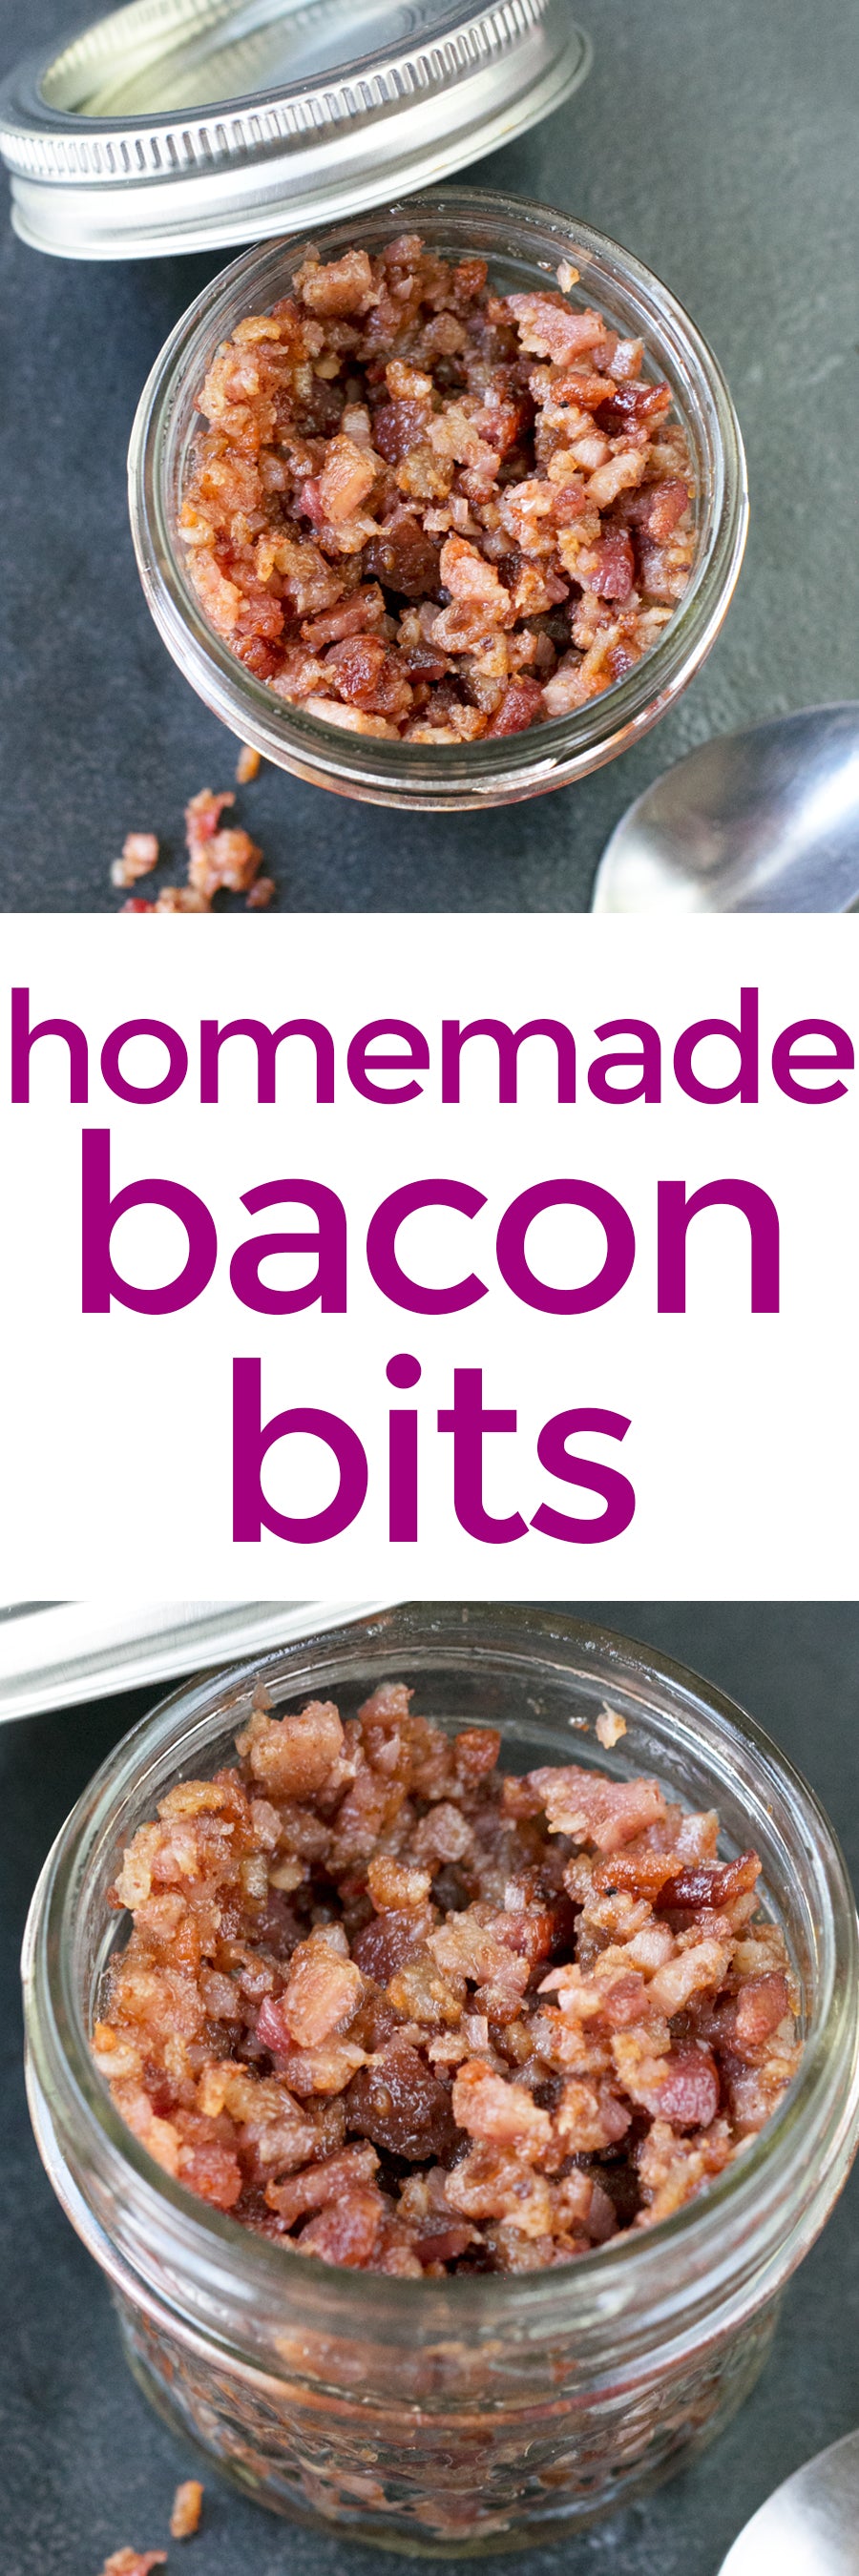
Homemade Bacon Bits
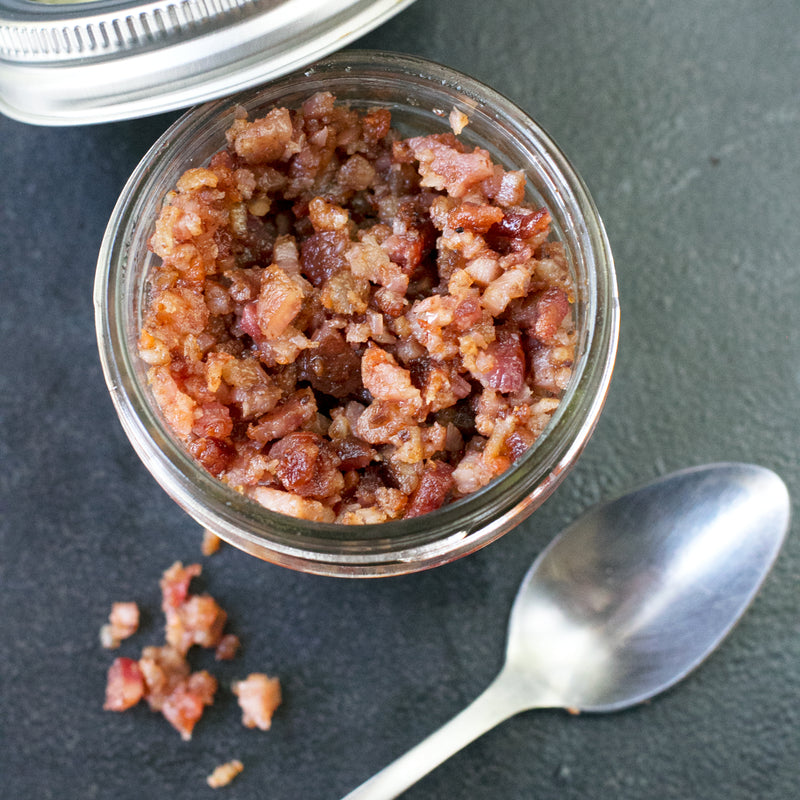

Do you buy your bacon bits at the store? If you do, I have to say, you are 100% doing it wrong. What you really need in your life are HOMEMADE bacon bits. Now, it might seem easier to just buy them at the store, but really, that processed stuff is no where near as good as what you could be making at home. Especially if you are making those little bits with infamous Pig of the Month BBQ bacon.

Not only is this bacon SO bomb, it comes in a ridiculous amount of flavors (if you didn't already know, click here to see for yourself)! So you can make some classic bacon bits to put on your baked potato or salad with Applewood Smoked Maple Bacon as you see in this recipe OR you can get crazy with some Apple Pie bacon bits or Sriracha bacon bits. Just think about sprinkling some Sriracha bacon on your mac and cheese the next time you make it. Best idea ever, right?? I KNOW. You'll never go back to that store-bought stuff again after you make these, trust me. And you'll start putting them on EVERYTHANG as soon as you do. Check out the video and the full recipe below!
[vimeo 178483789 w=640 h=360]
Homemade Bacon Bits from Pig of the Month BBQ on Vimeo.

INSTRUCTIONS:
Preheat oven to 425 degrees. Line a rimmed baking sheet with aluminum foil and place a baking rack on top.
Lay bacon slices on baking rack in an even layer. Bake for 15 to 18 minutes until cooked through.
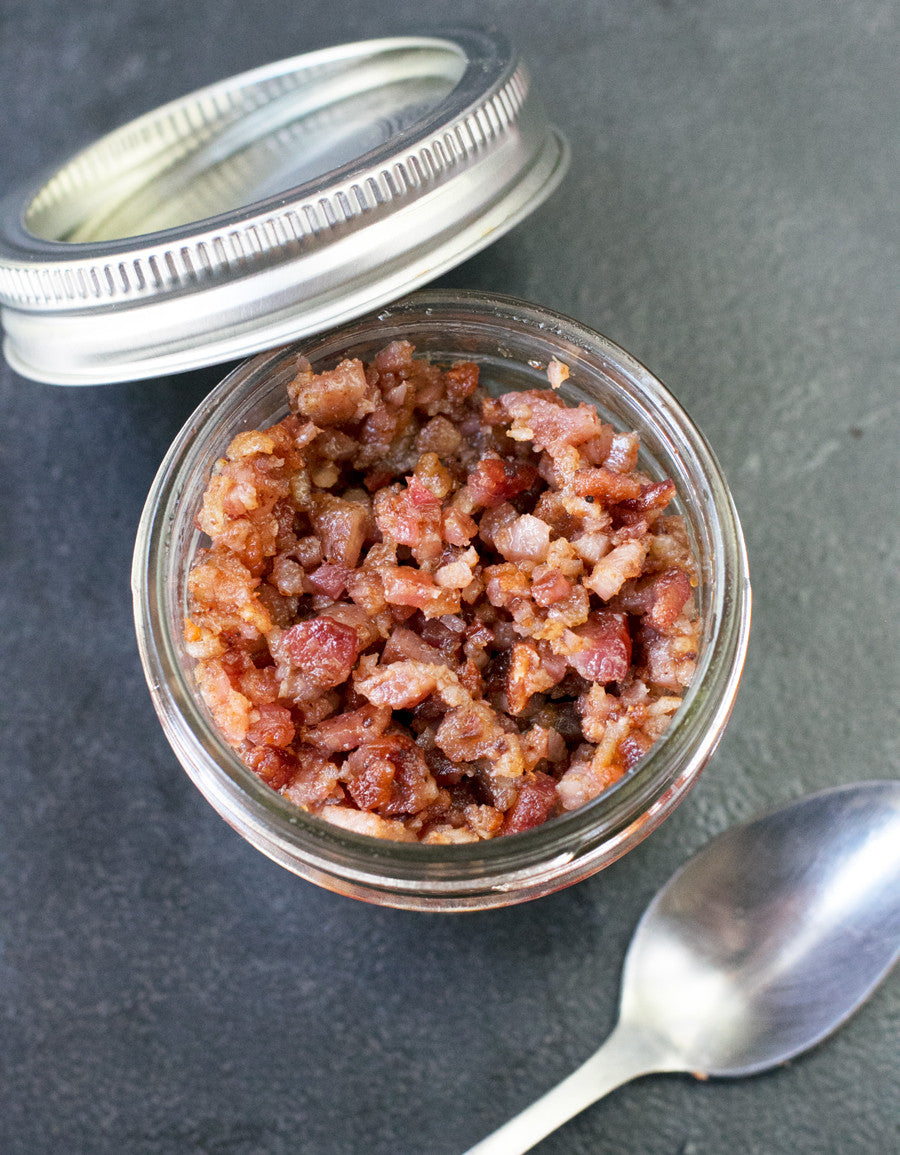
Place bacon slices in the bowl of a food processor. Pulse until finely chopped into bits. Store in an airtight container in the refrigerator for up to 4 to 5 days.
Shop This Post
Pig of the Month BBQ Applewood Smoked Maple Bacon
*Recipe, video and photos by Meghan Bassett

